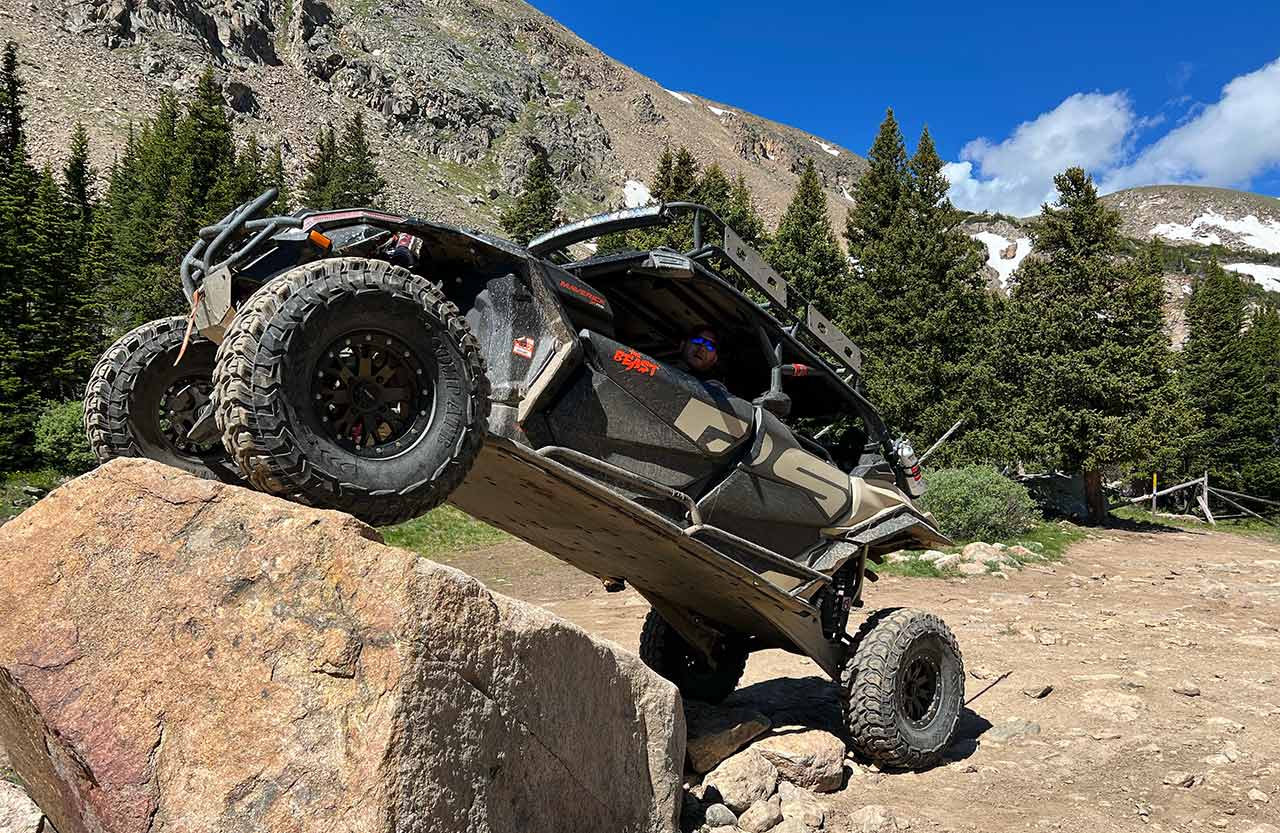
For UTV enthusiasts seeking better performance, reliability, or customization, converting from a traditional CVT/belt system to a chain drive can be a game-changer. This guide explores the reasons behind this upgrade, the installation process, and key maintenance tips to ensure long-lasting results.

Understanding Chain-Drive Conversions: What You Need to Know
A chain-drive conversion replaces the CVT/belt system found in most UTVs with a more durable and direct chain-driven system. This upgrade is ideal for UTV owners aiming to enhance torque, improve acceleration, or handle specific performance demands.
Key Advantages of Chain-Drive Conversions
- Durability: Chain drives are often more robust, making them ideal for rugged terrains or heavy usage.
- Efficiency: Reducing slippage compared to CVT systems ensures better power transfer.
- Customization: Chain drives can be tailored to specific performance needs through gear ratios and sprocket adjustments.
For more insights into UTV customization and aftermarket upgrades, visit Side by Side Fury.
Key Considerations When Choosing a Chain-Drive Conversion
Before diving into the conversion, consider these critical factors:
- Compatibility: Ensure your UTV model can accommodate a chain-drive system.
- Performance Goals: Define whether you aim to improve speed, torque, or overall reliability.
- Required Parts: High-quality chains, sprockets, and mounts are essential for a successful conversion.
- Budget: Factor in both parts and potential professional installation costs.
For a wide selection of UTV parts and performance components, explore Side by Side Fury’s Shop.
Step-by-Step Guide to Performing a Chain-Drive Conversion
Follow these steps for a smooth chain-drive conversion:
- Research and Planning:
- Understand your UTV’s specifications and required modifications.
- Gather tools such as a chain breaker, torque wrench, and alignment tools.
- Remove the CVT System:
- Disconnect and carefully remove the belt, pulleys, and related components.
- Install the Chain-Drive System:
- Mount the sprockets and ensure proper alignment.
- Adjust the chain tension for optimal performance.
- Test and Fine-Tune:
- Perform a test drive to check for any alignment issues.
- Make necessary adjustments to gear ratios or tension as needed.
For detailed installation guides and tips, visit the Side by Side Fury Blog.
Maintaining Your New Chain-Drive System
To maximize the longevity and performance of your chain-drive system:
- Regular Lubrication: Use high-quality chain lube to minimize wear.
- Inspect Tension and Alignment: Regularly check for any slack or misalignment.
- Replace Worn Parts: Promptly replace chains or sprockets showing significant wear.
When to Call in the Professionals
If you encounter challenges during the installation or require advanced customization, it’s best to seek expert assistance. Professional Installation Services can ensure a seamless upgrade tailored to your UTV.
Even if you prefer DIY modifications, always prioritize safety and proper research before starting your project.
Main Points to Remember
Switching to a chain-drive system can transform your UTV’s performance, offering enhanced durability, efficiency, and customization. By carefully planning the conversion, maintaining the system, and seeking professional help when needed, you can enjoy a significant boost in your off-road adventures.
For all your UTV needs, from parts to expert advice, visit Side by Side Fury.
Enhance your ride and hit the trails with confidence!
