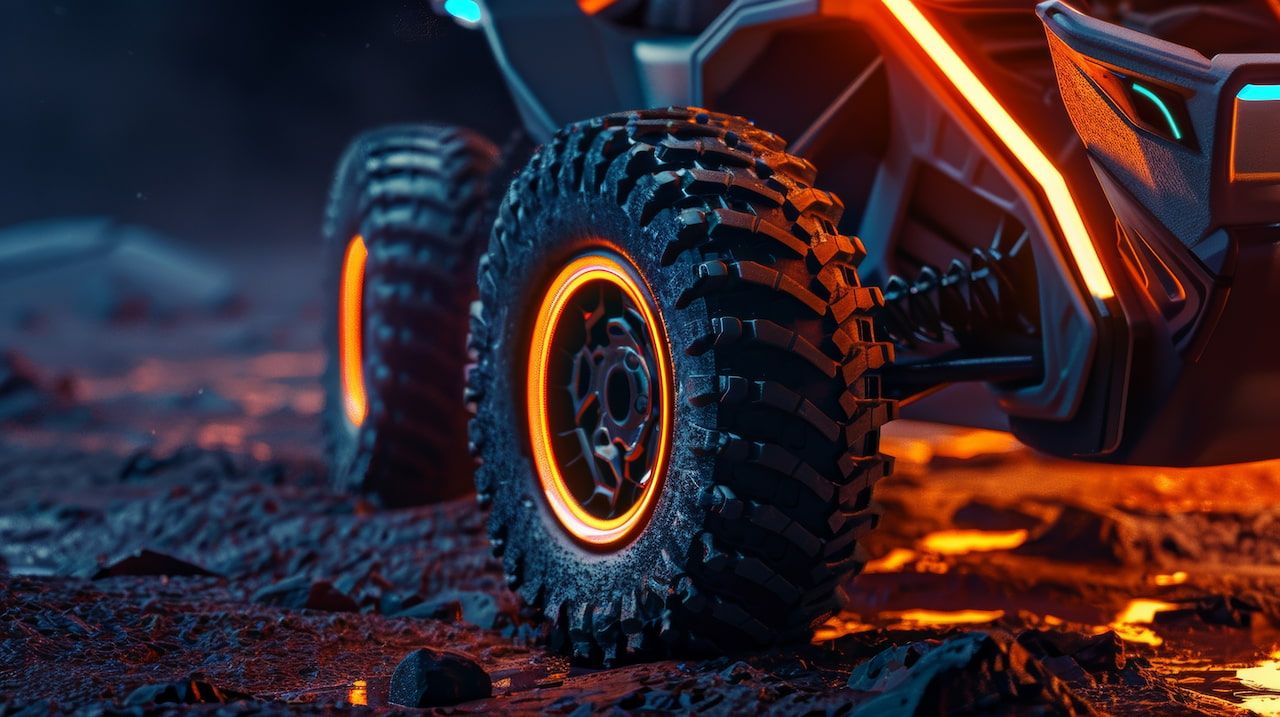
Enhancing your UTV with accent lighting is a fantastic way to add style, improve visibility, and create a personalized ride. From under-glow to rock lights, these upgrades allow you to stand out on the trails while maintaining functionality. Here’s how to add flair to your UTV without breaking the law.

Understanding Accent Lighting for UTVs: What You Need to Know
UTV accent lighting combines aesthetics and functionality, offering owners a chance to showcase their style and improve nighttime visibility. These lights include under-glow kits, rock lights, and LED strips that can be strategically placed for maximum effect. Before installing, ensure compliance with local laws to avoid penalties.
Types of UTV Accent Lighting
- Under-Glow Kits – Under-glow lighting adds a vibrant glow beneath your UTV, highlighting its contours and making it stand out in low-light conditions.
- Rock Lights – These lights are mounted to illuminate the terrain around your UTV, offering both safety and an appealing visual effect.
- LED Accent Strips – Versatile and easy to install, LED strips can be placed inside or outside your UTV for customized lighting effects.
For more information on UTV customization and aftermarket upgrades, visit Side by Side Fury.
Key Considerations When Choosing Accent Lighting
- Durability – Choose weather-resistant, impact-resistant lighting for off-road conditions.
- Ease of Installation – Opt for kits with clear instructions and necessary hardware for DIY enthusiasts.
- Power Consumption – Low-power LED options prevent battery drain during extended rides.
- Legal Compliance – Research local regulations to ensure your lighting setup adheres to legal requirements.
Explore UTV parts and aftermarket accessories to find the perfect lighting options.
Step-by-Step Guide to Installing UTV Accent Lighting
Follow these steps to upgrade your UTV with accent lighting:
- Plan Your Setup – Identify areas for lighting placement, such as under the frame or near the wheel wells.
- Gather Tools and Materials – Ensure you have the lighting kit, power cables, zip ties, and basic tools like screwdrivers.
- Install the Lights – Secure the lights using brackets or adhesive strips. Run wiring along the frame to avoid damage.
- Connect to Power Source – Use the UTV’s battery or a dedicated fuse box. Follow the manufacturer’s wiring diagram.
- Test and Adjust – Power on the system to ensure all lights function correctly. Adjust angles for optimal illumination.
For detailed installation guides and modification tips, check out the Side by Side Fury blog.
Maintaining Your New Accent Lighting
- Regularly inspect wiring and connections for wear and tear.
- Clean light surfaces to remove dirt and debris that may diminish brightness.
- Avoid prolonged exposure to water or mud to extend the life of your lighting system.
When to Call in the Professionals
If installation or troubleshooting feels overwhelming, seek professional assistance. Experienced mechanics can ensure proper setup and avoid potential electrical issues. Contact expert UTV mechanics for custom builds for tailored solutions.
Remember, careful research and attention to detail are essential for a successful upgrade.
Main Points to Remember
Adding accent lighting to your UTV enhances aesthetics, functionality, and visibility. From under-glow kits to rock lights, these upgrades can transform your ride while adhering to legal standards. Follow proper installation steps, maintain your system, and consult professionals when necessary to achieve the best results.
For all your UTV repair, maintenance, and customization needs, trust Side by Side Fury. Personalize your ride and hit the trails in style!
