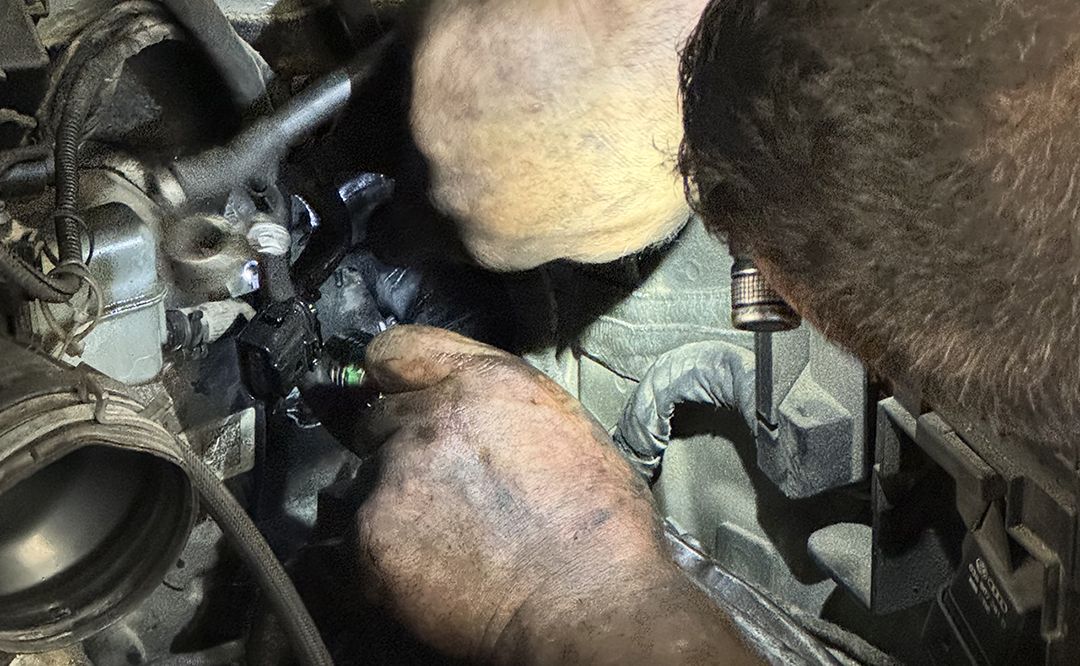
UTVs are built for adventure, but over time, wear and tear can lead to issues like seal leaks or gasket failures. Ignoring these problems can cause significant damage, leading to costly repairs. By understanding how to replace seals yourself, you can save money, reduce downtime, and keep your UTV running smoothly. This guide will walk you through recognizing symptoms, identifying causes, and completing the replacement process.

Recognizing the Signs of Seal and Gasket Issues
Proper maintenance begins with identifying problems early. Here are key indicators that your UTV might have a seal or gasket issue:
- Fluid Leaks: Noticeable oil or fluid pooling beneath your UTV often signals a damaged seal.
- Performance Issues: A drop in power or irregular operation can result from leaks affecting key components.
- Unusual Noises: Grinding or hissing noises may point to fluid escaping through damaged seals.
For more tips on UTV repair and maintenance, visit Side by Side Fury’s resource hub.
Common Causes of Seal Leaks in UTVs
Understanding why seals fail can help you address issues proactively:
- Wear and Tear: Seals degrade over time due to regular use.
- Improper Installation: Incorrectly fitted seals can cause leaks prematurely.
- Environmental Damage: Exposure to dirt, water, and extreme temperatures accelerates wear.
- Poor Maintenance: Neglecting routine inspections allows minor damage to escalate.
Explore our extensive collection of UTV parts and accessories to find replacement seals and tools.
How to Replace Seals on Your UTV
Follow this step-by-step guide to tackle seal replacement confidently:
Tools You’ll Need:
- Socket wrench set
- Screwdrivers
- Seal puller or similar tool
- New seals and gaskets
- Cleaning supplies
Steps to Replace a UTV Seal:
- Prepare Your Workspace: Ensure your UTV is stable and the work area is clean.
- Locate the Damaged Seal: Refer to your UTV’s manual to identify the faulty seal.
- Remove the Old Seal: Use a seal puller to carefully extract the damaged component.
- Clean the Area: Remove debris or residue to ensure a proper seal with the new part.
- Install the New Seal: Align and press the new seal into place, using a rubber mallet if needed.
- Reassemble Components: Reattach parts and tighten bolts to manufacturer specifications.
For detailed tutorials, visit the Side by Side Fury blog.
Preventing Seal and Gasket Issues
Preventive care is key to avoiding future problems. Here’s how:
- Inspect Regularly: Check seals for wear or leaks during routine maintenance.
- Use Quality Parts: Invest in high-quality aftermarket seals for durability.
- Maintain Clean Components: Prevent dirt and debris from compromising seals.
- Follow Manufacturer Guidelines: Always adhere to your UTV’s maintenance schedule.
When to Seek Professional Help
While many repairs can be done at home, some situations require expert intervention. Contact a professional if:
- Leaks persist despite seal replacement.
- The repair involves complex engine or transmission components.
- You’re unsure about proper seal installation techniques.
Visit Side by Side Fury’s repair services to connect with experienced mechanics for assistance.
Disclaimer: This guide provides general information. Always consult your UTV manual or a qualified mechanic for specific issues.
Main Points to Remember
Addressing seal and gasket issues promptly helps prevent costly repairs and ensures optimal performance. By learning how to replace seals, investing in regular maintenance, and knowing when to seek professional help, you can keep your UTV adventure-ready.
For all your UTV needs, explore our extensive resources at Side by Side Fury.
